IFU for SLS Cold Metal, Ceramic, Polymer & Exotic Powders Fusion
Discover our Eco Powder Binders for SLS printing of Metal, Ceramic, Polymer & Exotic powders by SLS Cold Metal, Ceramic, Polymer & Exotic Materials Fusion.
For more info read: About Cold Metal Fusion CMF, Cold Ceramic Fusion CCF, Cold Polymer Fusion CPF, and Cold Exotic Materials Fusion
Powder mixing Instructions
Recommended mixing of 3D-POWDERS CF SD or WD Bio with your chosen ceramics, metals, polymers, and exotic powders.
Mix the following powders in a powder mixer (or similar) at room temperature to ensure full wetting and mixing:
- 20 % by weight of 3D-POWDERS CF SD or WD Bio*
- 10% by weight of your chosen SLS powder* (typically Nylon 12 powder since it is the most used polymer powder in most plastic/polymer SLS printers
- 70% by weight of your chosen ceramic, metal, polymer, or exotic powder*
*Note: the % can be increased or decreased depending on the specifications of the printing settings and the chosen ceramic, metal, or exotic powder. Once 3D-POWDERS CF SD or WD Bio and your chosen SLS powder (typically Nylon 12) are fully integrated with your chosen ceramic, metal, polymer, or any exotic powder, the powder mix is ready for SLS printing. For SLS printing of high performance polymers such as PEEK & PEKK by Cold Polymer Fusion use 3D-POWDER CF5 SD Bio instead of Nylon 12)
Recommended plastic or polymer powder SLS printers: SLS printer compatibility, any open mode plastic/ polymer powder SLS printer can be used.
3Dresyns can combine different Powder Binders for SLS Cold Metal, Ceramic & Exotic Powders Fusion to your chosen ceramics, metals, polymers, and exotic powders to meet your specifications.
Contact us for quotations at: info@3Dresyns.com
IFU for printing for SLS Cold Metal, Ceramic & Exotic Powders Fusion
These fast and accurate Instructions for Use "IFU" can be used for printing our SLS powders by SLS Cold Metal, Ceramic & Exotic Powders Fusion with even low cost SLS printers.
SLS 3D Printing process
1. Calibration
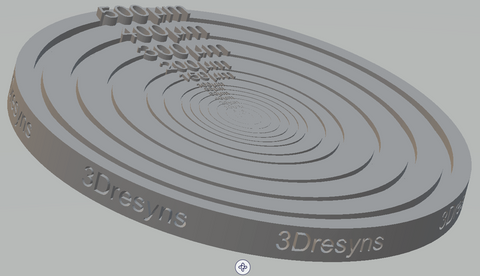
- Calibrate 3Dresyns SLS powder mix in your SLS printer by printing 3Dtest1, 3Dresyns flat coin, for fast optimisation of the resolution and printing settings
- Each SLS printer will require different printing settings, printing times, etc depending on the composition and specifications of the chosen SLS powder and printer
- Slice the 3Dtest1 file into layers with the standard printing settings of your closest equivalent SLS powder
- Send the instructions (sliced STL file) to the printer
2. Printer setup and SLS printing
- Printer setup varies and depends on each SLS printer system
- Follow the manual and IFU for the equivalent SLS powder material of your SLS printer manufacturer before printing
- Use the std printing parameters of your chosen polymer powder (typically Nylon 12) but reduce bed temperature to 40-50-60ºC depending on the chosen SLS powder binder. If over-melting occurs reduce Energy Dosage (laser power and/or scan speed) and/or slightly decrease bed temperature
4. Post processing
- Remove the prints from the build chamber
- Clean "green" prints: remove manually excess powder. This process is typically completed manually and with pressurized air or a water jet
- Smooth grainy prints if needed with Cleaning Fluid WS1 for cleaning and smoothing prints
- Recycle the excess unfused powder by filtration and re-use it by mixing it with fresh SLS powder for next print jobs
-
Once green prints are fully cleaned, they need to be immersed in a solvent to remove part of the sintered plastic from the metal green parts (cold debinding process)
- Cold debinding at 60-100ºC in water or in Debinding Solution EDS1 Bio (depending on the chosen SLS powder binder) for x hours (x depends on print size)
-
After debinding, parts, which are referenced as “brown” parts, are heated gradually in an oven to remove the binder completely and to sinter the metal particles at high temperature to obtain sintered pure metal parts
-
Thermal debinding:
- Insert flask in the preheated oven at 65ºC
- Ramp 1-2ºC/ minute up to 250ºC
- Hold at 250ºC for 60 minutes
- Ramp 1-2ºC/ minute up to 450ºC
- Hold at 450ºC for 30 minutes
- Ramp 2-5ºC/ minute up to sintering temperature
- Hold at sintering temperature for 180 minutes
- Ramp -2ºC/ minute down